Markuss' "Old China" Overgrowth Mod
Add comment!February 2nd, 2011
The following is a guest post by the amazing Markuss.
Hi folks, Markuss here, some of you will have seen the oriental 3D art assets I’m producing, in this blog post I’ll give you some insight into how I approached this large amount of work.
Editor's note: each of these videos was recording with a different alpha -- many of the bugs / features that Markuss requests have been implemented in his subsequent videos
Be sure to watch it in HD!
Other videos:
Props and furniture
Be sure to watch it in HD!
Initial test
Be sure to watch it in HD!
Physics objects
Be sure to watch it in HD!
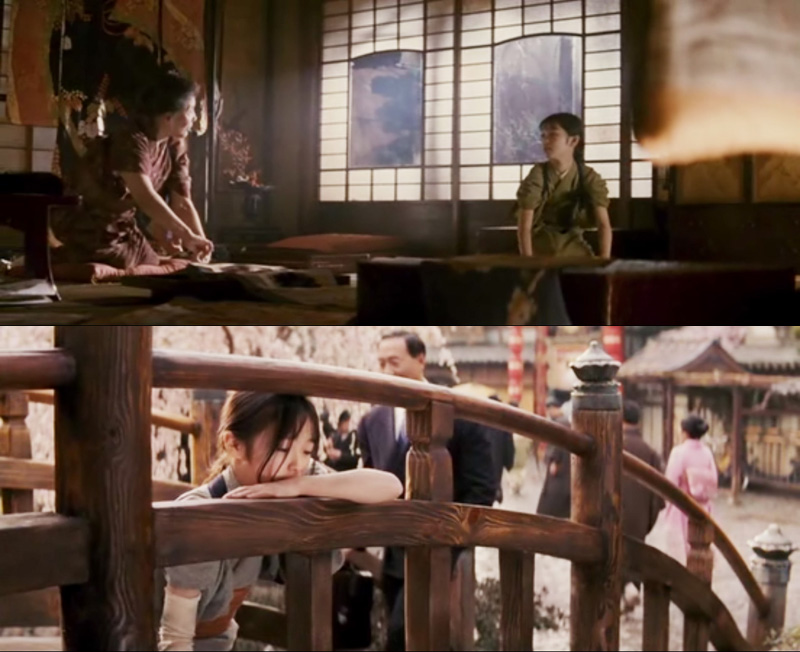
Scenes from Memoirs of a Geisha
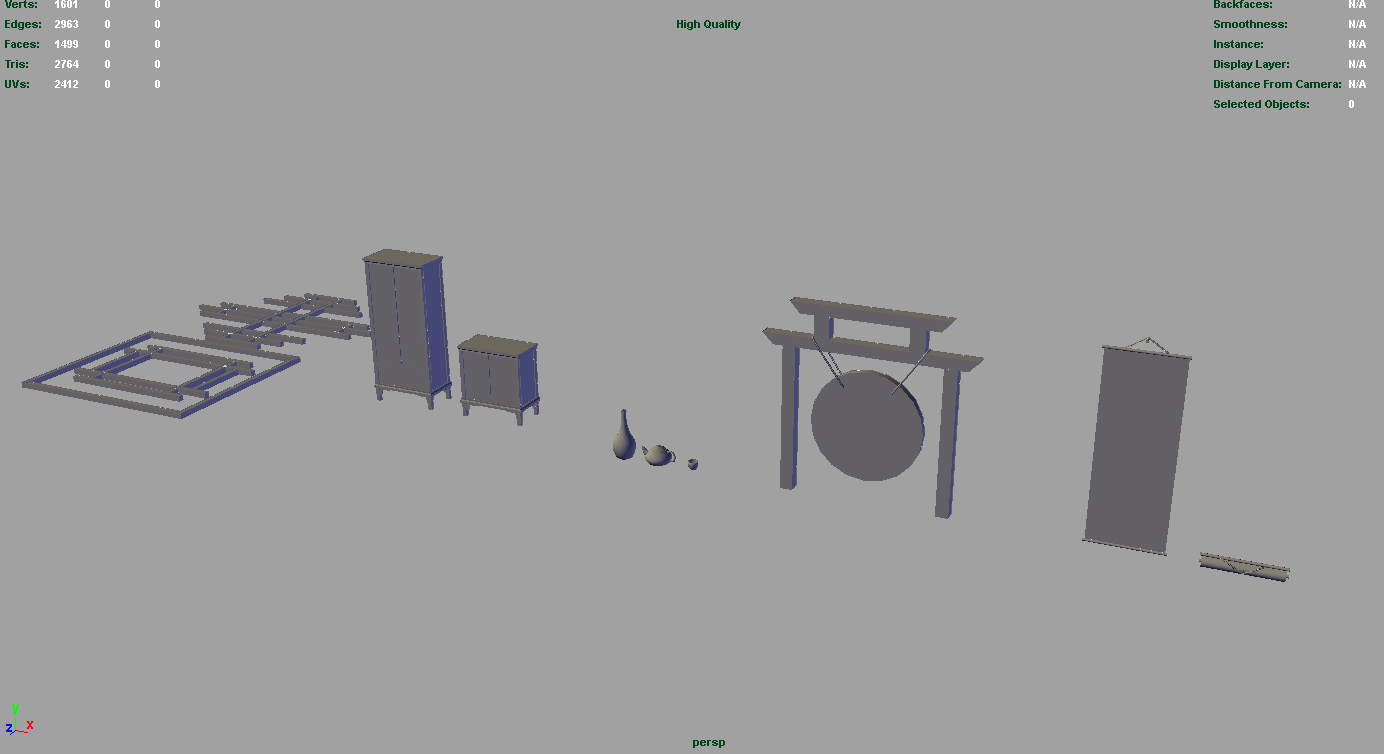
The gong in this image has the UVs laid out for the wooden posts but the cylinder I used has default UV’s, I will sort out how the gongs UVs fits with the wooden post’s UVs later.
Once I have a sizeable amount of objects I’ll go back and start re-modelling and texturing them, I like to start texturing by getting some form of image data from the 3D program and modifying it. For example I’ll use a screenshot of the UV layout in the texture, making the lines white (or black) and blending them together with filters, I also like to do stuff with normal maps.
I don’t spend long finding picture-textures at this point as I will come back later and finish them better, you can spend quite a lot of time hunting down the best textures so it’s better to do that towards the end and do it all at once.
With all the objects modelled and textured I’ll go back and identify the weakest looking objects and re-model and re-texture things (this is like the final pass). I adjust things like the colour, brightness and contrast as well as getting better textures, I found I replaced about 20-30% of the textures I had used previously.

You can see the original wall objects I modelled in the background of this screenshot, the current ones are much better…and less complex!
I’ll add some extra objects, variations that I think of that would be useful, such as making a wall segment that is half as long and re-combining parts of objects to make similar objects (trees with no leaves), stuff like that.
That’s about it, I’m due to release my assets soon, just putting the finishing touches on them, can’t wait to see some levels made with them!
Thanks so much for sharing your work with everyone Markuss. Your work is truly awesome! Be sure to check out Markuss' YouTube channel to see more of his projects.