Overgrowth fan art spotlight - xiss burg
Add comment!February 18th, 2010
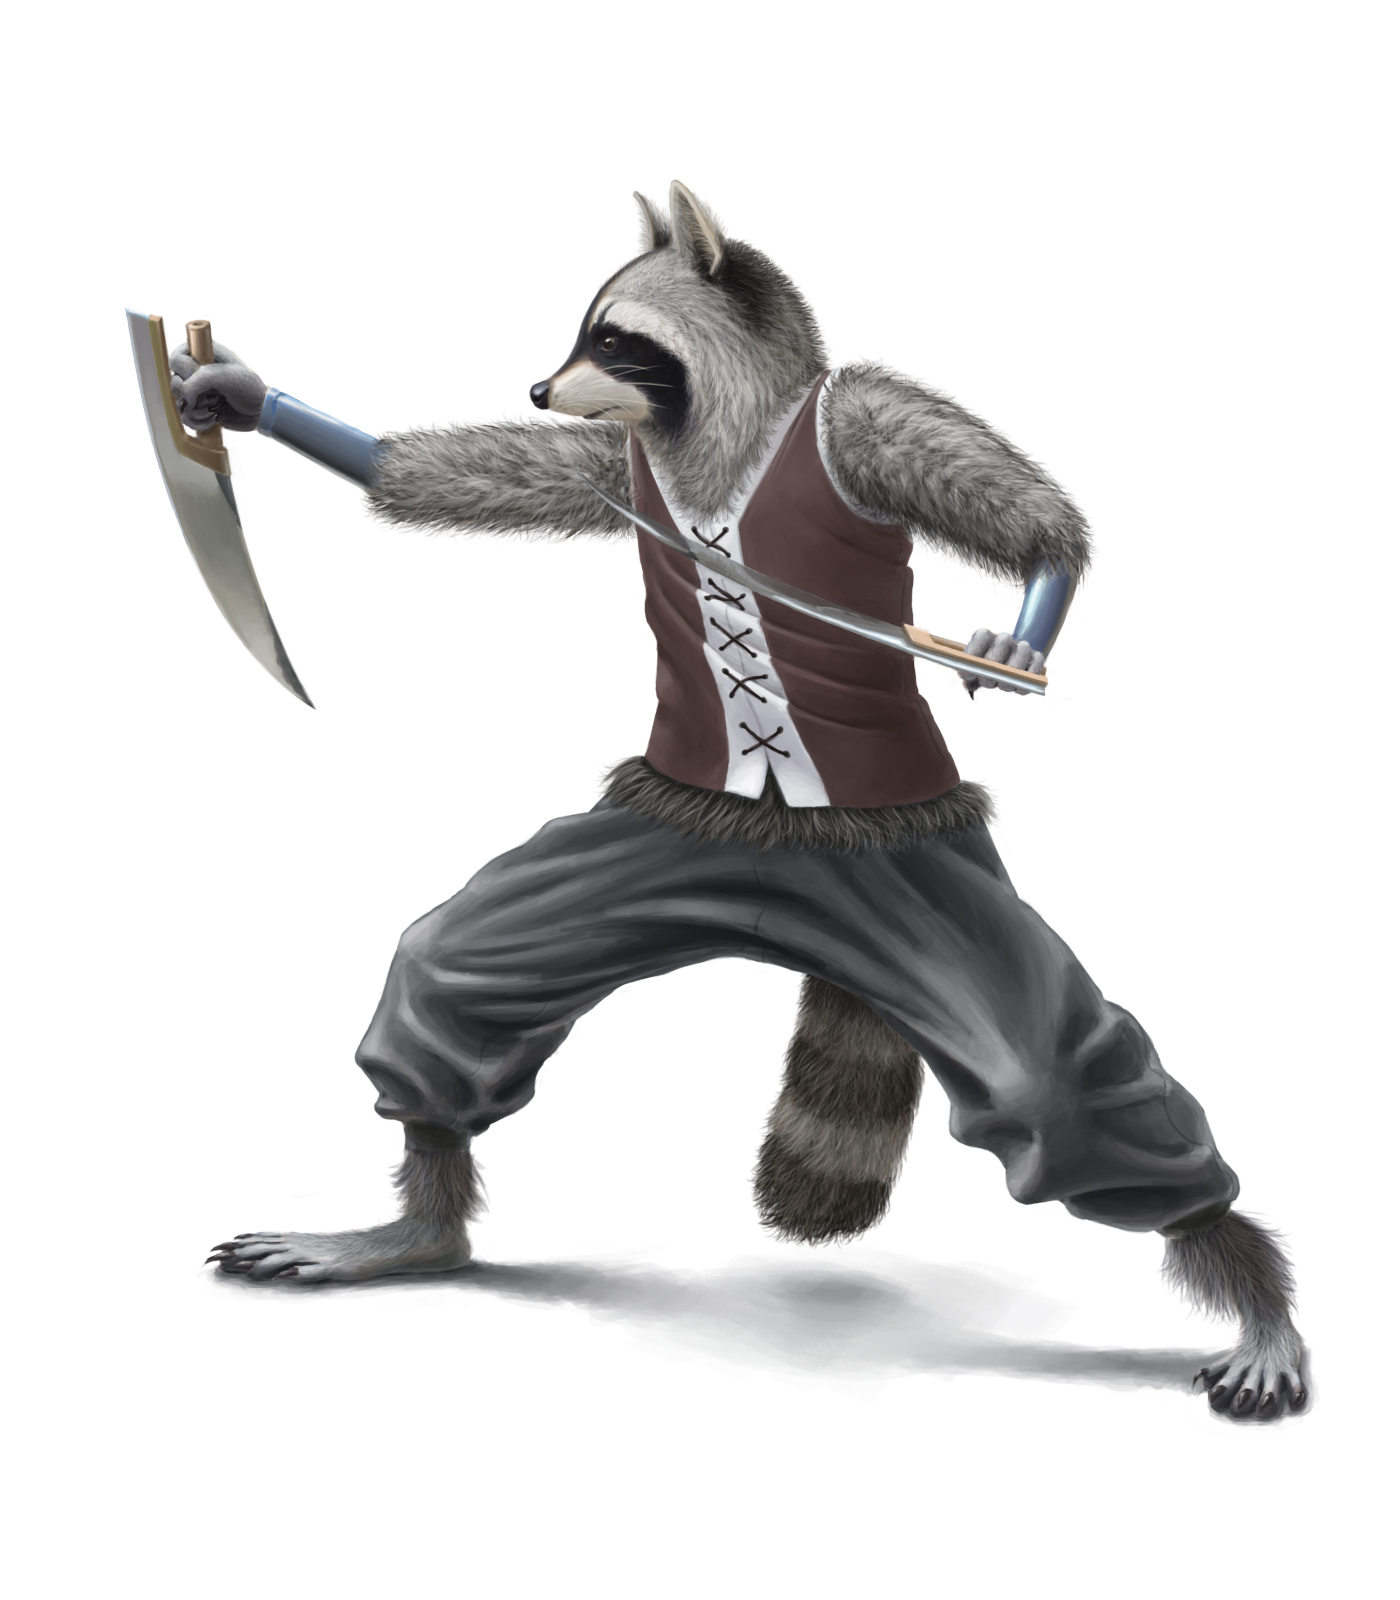
While we've been working hard on Overgrowth, fans have shared many brilliant OG-inspired works of art on the forums. Following our tradition, we will continue to feature our favorite pieces on the blog. Today it is my pleasure to show you xiss burg's ninja raccoons from page 28 of the fan art thread (xiss is from Brazil and the 'xiss' is pronouced like 'shees', for us English speakers). Fortunately, xiss burg was also kind enough to make time to share insights about the inspiration and development process for these amazing pieces. Be sure to click on the images to see them at full-size!
When did you start drawing?
When I was a little kid. I loved cartoons and games and when I was not watching cartoons or playing games I was drawing their characters and stuff. Even though my drawings were, of course, seriously horrible, I loved them and I never stopped doing that. Since then I have been drawing almost everyday.

How did you hear about Overgrowth?
Hm really hard to remember exactly how...I think I accidentally visited the website and got curious to know what was Overgrowth, and since then I have been following your amazing work.
What made you decide to use raccoons?
I really love animals in general. Recently I got to know what really are raccoons, but not personally, just through videos and pictures. And they have just become so special to me, I love them :). I must visit the US one day to see some raccoons. After watching the forum fan-art thread, the idea just popped out in my head: Raccoons + Overgrowth = Awesomeness. Then I tried making some ninja raccoon concepts. Seriously, I want to see raccoons in Overgrowth, or in a mod of it!
What tools did you use to draw them?
For painting I only use Photoshop and an awesome Wacom Intuos4 tablet.
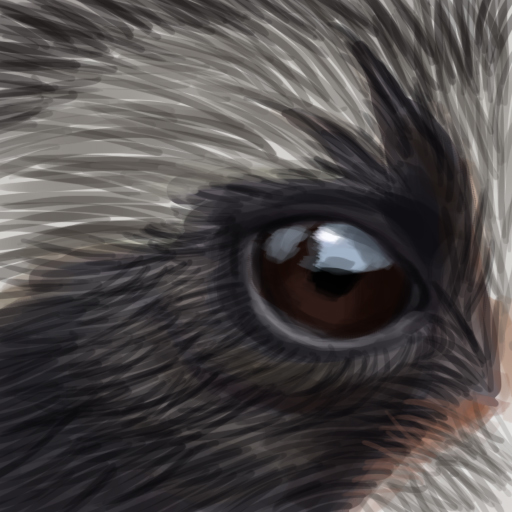
Is there anything else you'd like to share about your art?
Here goes a little tutorial for painting furry stuff. Step 1: Usually I start with some line sketch, where I draw lines where should be the borders of the object and where there are transitions from distinct parts like where the fur abruptly changes color, from skin/fur to eye, etc. For this I use a hard round brush, opacity 100%, and opacity and size controlled by pen pressure.


That's all. Thank you very much Wolfire for inviting me for this blog post, I really appreciate it. And, I know you're all tired of hearing this but, keep up the amazing work you guys are doing! I wish the best of luck and success for you guys.
Thank you xiss for your great pieces and for taking the time to create this awesome post. I recommend everyone check out xiss burg's portfolio to see more amazing art.