Decals editor ~ part one
Add comment!May 9th, 2009
A few weeks ago, David overhauled our decal engine. Leveraging off this, I've recently started implementing our decals editor, and I can now show off some fancy (but very preliminary) screenshots. I think decals will add a lot to the immersiveness and liveliness of our environments.


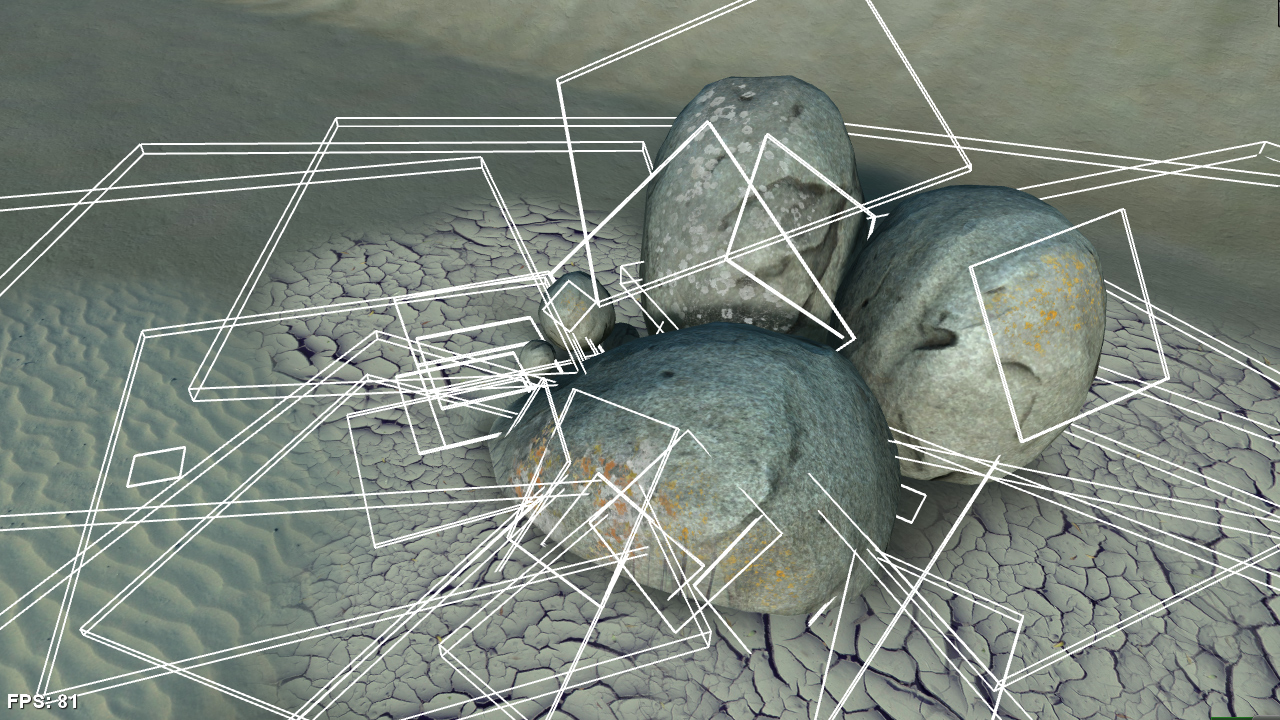
How the editor sees the decals. Here I just switched into decal mode and pressed ctrl-a. It's a bit messy. I'm still sorting out how it will be presented.
In Overgrowth, decals will serve at least three purpose. First, they will add variety and detail to our textures. This will, effectively, explode the number of assets we have at our disposal. Each model will be reworkable in countless distinct ways just by mixing and matching decals on its surface. For example, in the screenshots above, all the rocks are derived from the same model. I rotated and scaled them to make them seem varied, but, I think it's only with the lichen that they really come to life as individual entities.
Second, we will use decals to blend across abrupt intersections, such as between objects and the terrain. So far, we've been relying on models that tend to mesh well together, and on ambient occlusion to soften the seams. Decals will add a lot to this effort. Decals are like graphical glue. They make everything gel together.
Third, and lastly, we will use decals for slapping Wolfire logos all over the place. Here's how my rock garden turned out after I sent it down to our corporate branding division:

What do you guys think of the decal system so far?